This month we are featuring the Happiness Grid Collection! This collection includes Love, Kindness, Gratitude, Faith, Hope, and Charity. All new layouts this month will be featuring this colorful collection.
It's also the first day of our Countdown to the Die Sale! Check your email EVERY day this week to get new tips and ideas using our dies.
For the next 10 days we are going to showing you a variety of ideas with our dies. Plus, we will be revealing a new die on the last day of our countdown! Today we are going to focus on photo habits, so you will have the right photos to work with our dies.
If you have ever gotten frustrated that your pictures are not fitting quite right or wish your pages looked like our examples then you need to read this article! We explain how we take pictures to fit our designs and make these professional looking pages! Once you take the right pictures, it will be easier to fill all of the design spots. Click below to read "4 Photo Habits You Need for Mosaic Moments
Dies".
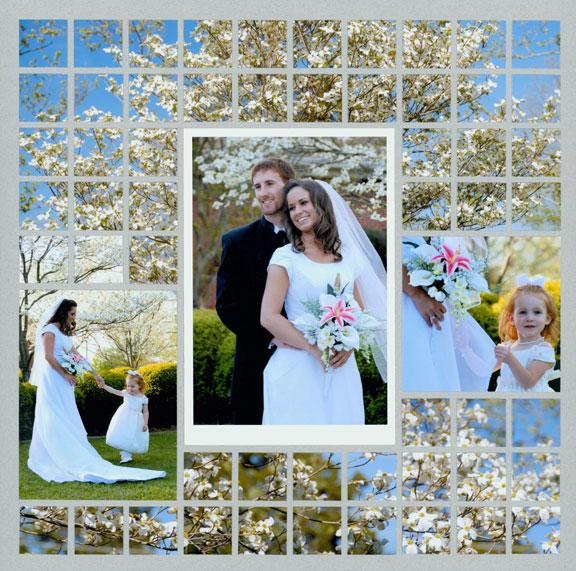
For example, look above at how Jodi has a close-up portrait shot of her beautiful daughter in the center. Now, notice how she took some close up shots of the wisteria - which was perfect for this chunky mosaic. Also, she took photos of her kids on the bridge from further away. It's very important to take shots from a variety of distances so you can have photos that fill smaller spaces. And that is just one
Photo Habit we have at Mosaic Moments! Click below to see the other habits!
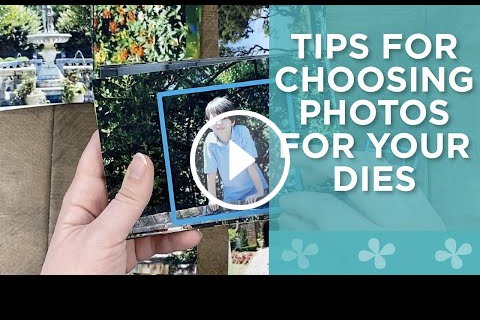
At times Mosaic Moments layouts use a lot of small parts - whether you are using the specialty or basic dies. Paije shares her tips on how can sort your photos so you know how small they can be cropped. Plus she shares some of her tips about what types of photos to take. Watch through to the end to see her two page layout with her chosen
photos! Click the button below to watch now:
Join ourShare Tips & Ideas: Mosaic Moments Facebook Group. This is the place to ask questions that relate to the Mosaic Moments Page Design System and share your experience
using the system and products with others.
In this group you'll find suggestions that relate to Mosaic Moments customer preferences on topics such as: die machines, adhesives, organizers, printers, etc.
Find answers to your questions in the group by typing the subject (example: die machines) in the "search box". If nothing comes up from the search, add a post to ask your question. ALL questions must be related to the Mosaic Moments System/Products. (Non-related questions will be deleted without notice.)
This group is not for order comments/questions or issues, or for Snapncrop.com product stock questions. All questions regarding Snapncrop.com (orders, inventory, etc.) should be directed to our amazing customer service team.
Please note:Reading and agreeing to the group rules is required before access to this private group.
"Spring Wedding" is one of our all-time favorite Mosaic Moments® pages! This gorgeous wedding layout is a timeless classic. Here is a great photo tip from Mosaic Moments® creator, Tami Potter. She was able to create this beautiful mosaic by taking multiple pictures of this blossoming tree. To get this look point your camera to the top HALF of the tree and take the shot. Then rotate your body so your
camera is facing the other side of the tree and take a shot of that half. It's a super simple trick for an amazing layout later!
Tami created this layout over 10 years ago in 2010!
FAQ:
What Size Photos do we use on our pages?
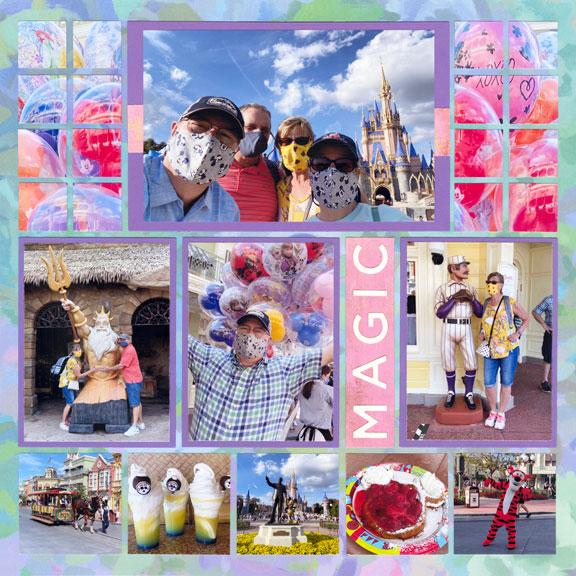
For the majority of our pages we use 4x6 photos. Even our mosaic and panoramic layout designs are created with 4x6 photos that were blended together to appear as if it was one large image (See Layout Above). We also print photos to smaller sizes on sheets of 4x6 photo paper. Occasionally,
we use 5x7 photos for specific dies. It's very rare for our design team to use anything larger than a 5x7.
GRID WORK OF THE WEEK
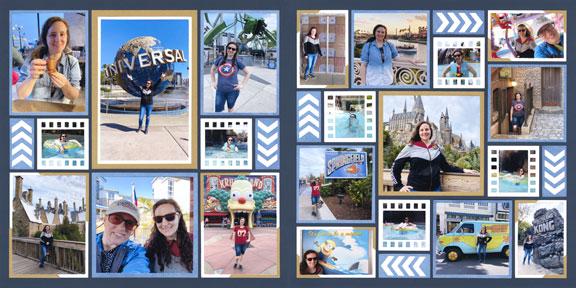
"Universal 2020" by Paije Potter - Patterns #444 & #340 (slight adjustment)
This week we are asking you to do a task! Get out a stash from your photo collection - this could be a set of photos you have not used for a scrapbook layout yet. Then, take out your basic die bundle (if you have the layering die bundle, you can include it as well!).
Next, start placing the dies over your photos to see how your main subjects fit within that cropped space. The task is to figure out how small of a size you can go! For example, grab the 3x3 layering die from Set A (measures 2.75 x 2.75 inches) and lay it over multiple photos in your stash. You will be able to see if your photos can be cropped to this size, or if you need to go up to a bigger size. Now you
can organize your photos to the smallest sizes you can crop - this will make it easier to figure out a page pattern! And if needed, you know you can also crop those photos larger as well.
You can also view how Paije does this in her video here. In this week's practice layout, we included two page patterns with a variety of die sizes so you can experiment. If you do not have photos that can be cropped to the small sizes - find a pattern paper, a decorative die, or fill in with
journaling!
When you have created your layout, share it with the community on our Facebook Crop & Share group. Click the button below to join!