What if I told you there was a beautiful, intricate and elegant new way to frame four square photos? Would you be interested? I figured you would ... scroll down to meet the Clover Die and let your creativity juices flow.
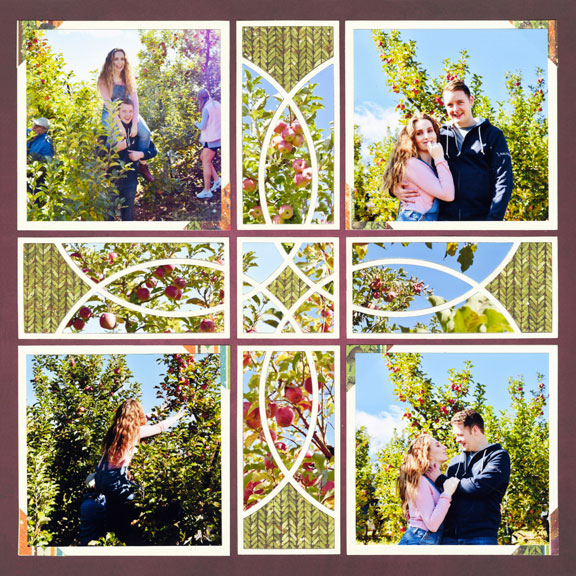
"Apple Picking in Charlottesville" by Paije - Pattern #368
Paije offset her photos, creating squares in the corners of her design. In this case, the Clover design becomes almost a backdrop, connecting the photos together.
SnapFixTip: When working with intricate designs and small pieces, it may be easier to place the photo or paper on adhesive, like Stick It, before cutting. Then, you
can just peel off the backing and adhere it like a sticker to your layout.
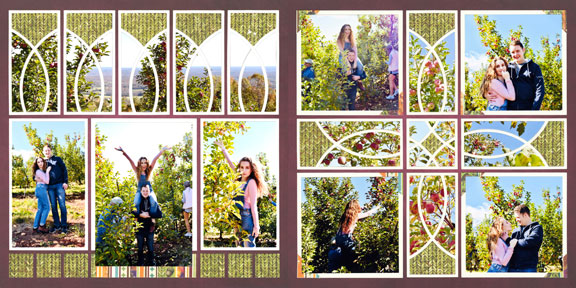
Here is Paije's entire design ... on the right side, the Clover ... on the left a panorama made with the Clover Die Set. Amazing! Check out the video below to see how to do it.
The Clover Die Set offers even more possibilities ... join Paije to see this beautiful panoramic made with one of the dies included in the set!
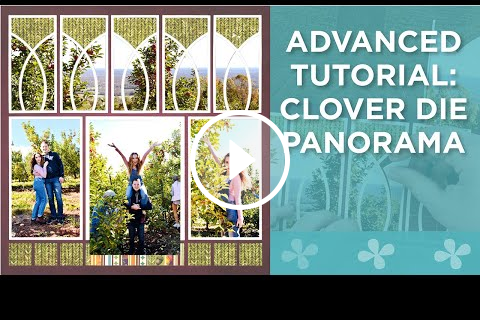
In this video, Paije shows an advanced scrapbook tutorial on how to create a panorama with the 2x4 Clover Die. Watch to learn the steps to make this amazing panoramic design.
This is the same page pattern Paije used on the article above. However, Jodi used the full circle of the Clover Set, rather than the square space in the corners, like Paije did. It gives you an entirely different look!
SnapFix Tip: Contrast is the key to making the Clover Set pop off the page. Notice how each of our designers used either dark paper and light clover cuts or light paper and dark clover cuts?
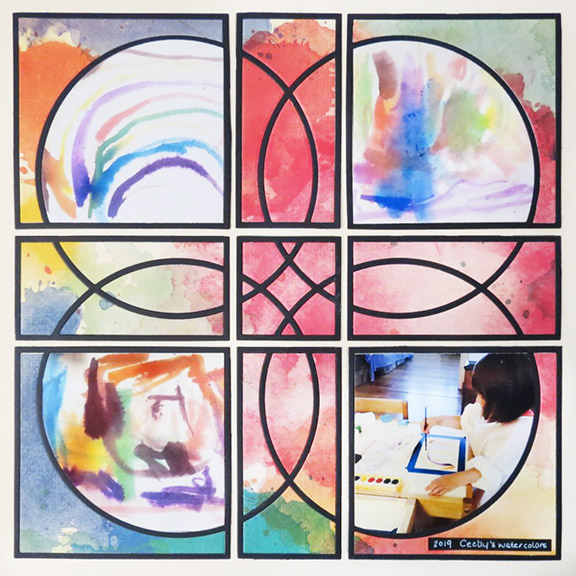
When you have children, you generally have art. Kids are wonderful at creating projects, both in school and out, for you to hang on the refrigerator. But, you can also scrapbook some of their art, like Andrea did here. Click the link below to find out how ... she has a few tips that make working with the Clover Die easy, as well.