Before there were dies, there were Cornerstones. These laser-cut die cuts covered two squares by two squares and added a decorative touch to your page. They are still available for purchase on the website today, but when dies entered the playing field, we got a whole new slew of the "cornerstone" squares to play with. Check out some of the amazing examples below ... and make sure you scroll all the way to
the bottom!
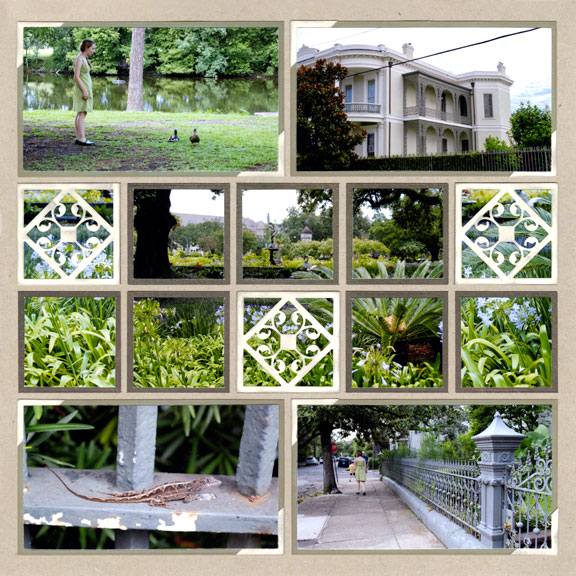
Because you are cutting these dies yourself, you can cut them (and back them) out of any material you choose. Here, Paije chose to simply lay the die cut over a photo for an elegant touch to this page.
SnapFixTip: Use the dies more than once on a page and spread them about, like Paije did above. This encourages the eye to follow around the page, taking in all of the details.
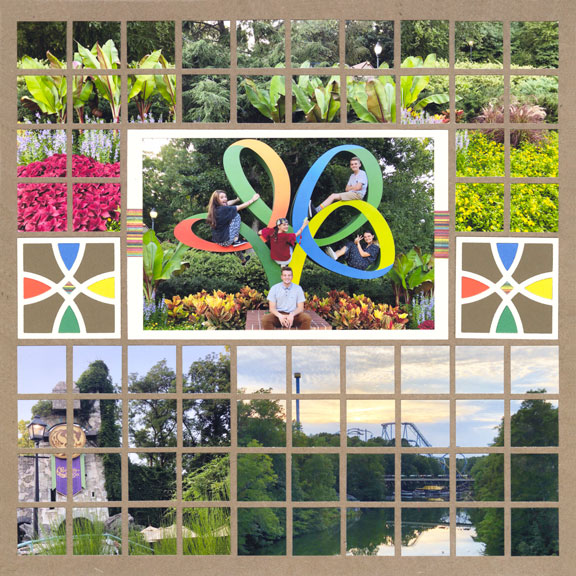
How fun is this page! Jodi used the sculpture in the center of her page as inspiration and filled in the spaces in the Looped Die to replicate the colors of the sculpture.
SnapFix Tip: Add tiny details for a truly professional look. Look closely at Jodi's page above ... see the little strip of striped paper behind the center photo? It adds that extra touch that takes a page from great to AMAZING. Now, look closely at the center of the Looped Dies on each side of the photo.
She used a piece of the striped paper in the center of the Looped Die! And, if you notice, the stripes go the same way and are positioned at exactly the same place on each die. This is true professionalism!
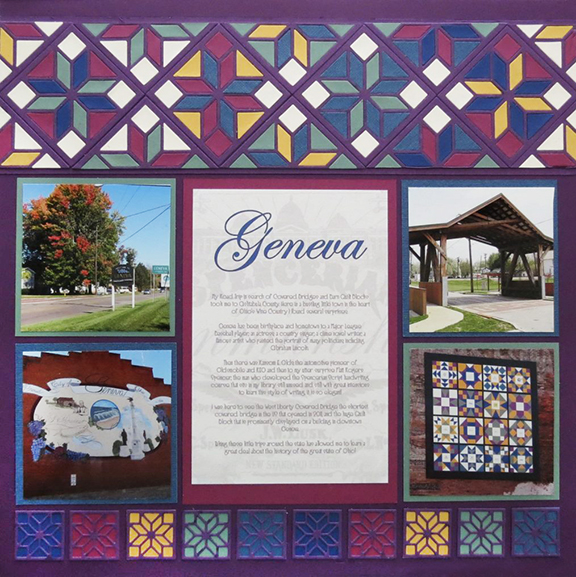
I'm glad you made it this far in the newsletter ... I told you there was something special here. This page left me absolutely speechless! WOW!!! So this incredible border at the top of Andrea's layout may take a little extra time to create, but is it not one of the most amazing things you have seen? And to think, it is all made with one small cornerstone die! Learn how to do this by clicking on the blue box
below.