They say, "what goes around, comes around," but we know sometimes we just have to add something round to break up all of those straight lines on our layouts. But, I bet you're wondering how we can possibly add round lines to Grid Paper? It's easy! Scroll down and find out.
Paije used the half circle die set to create a lovely border along the bottom of her page. When you line this die up, you get the illusion of full circles in between the dies. Cool, eh?
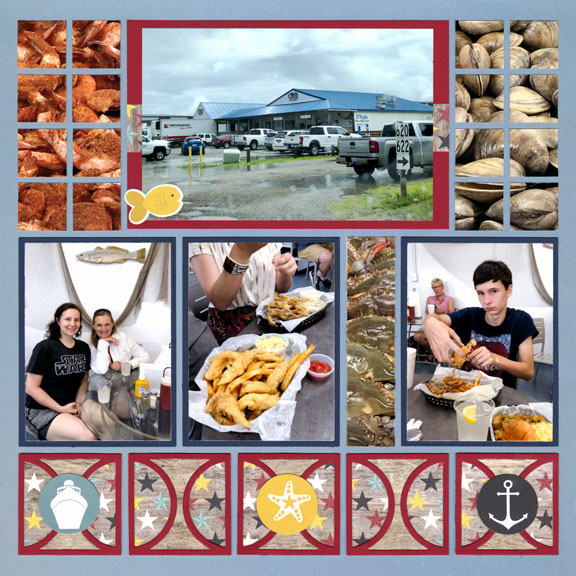
SnapFixTip: Add stickers. When purchasing paper, you might occassionally grab some stickers to include on your pages. These can be adorable accents to your pages.
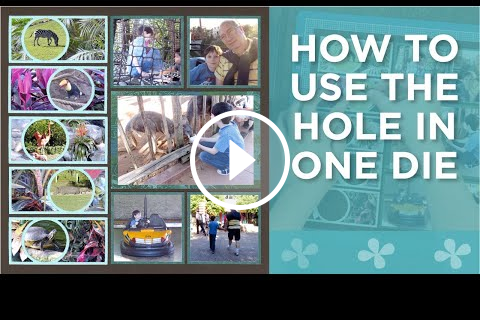
Many of you have been asking for a tutorial of the Hole in One die - so here it is! Paije shows you how to use the simple die to create an amazing layout. Watch to learn how to use this die, and get Paije's scrapbook tips.
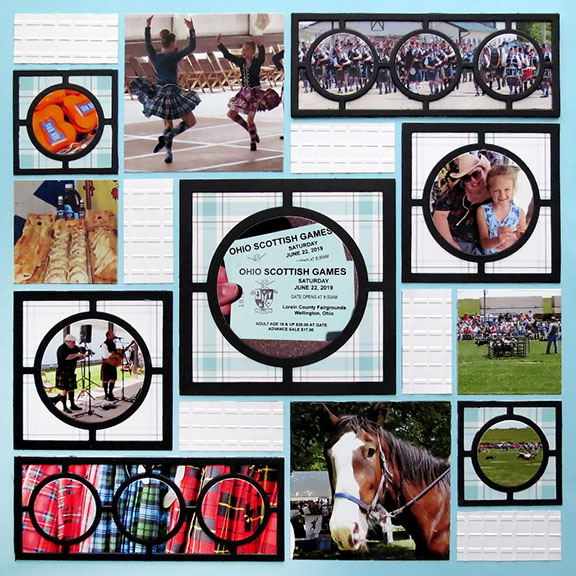
This page is covered in circles! In fact, aside from the handcut strips, circles are the only shapes on this page. Quite clever, don't you think?
SnapFix Tip: To make the Grid Lines disappear, use the same color border paper as your Grid Paper. All of the Grid Papers are solid on the back side, so you can easily use them for photo mats.
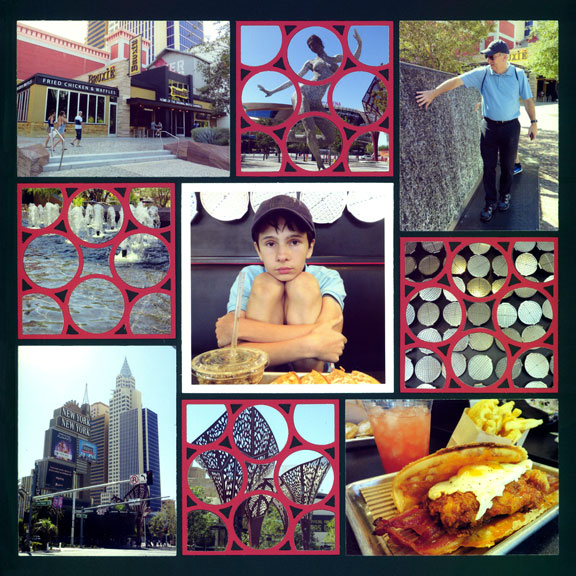
For impact and a cohesive page, Andrea used the same die in multiple sizes around her layout. Click the link below to see how she stacked dies to create extra dimension. (It's not obvious in this photo, but it is on her post and in person. Check it out)
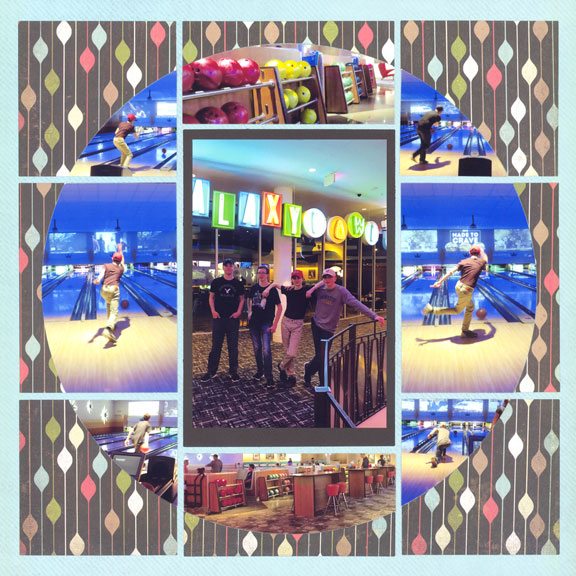
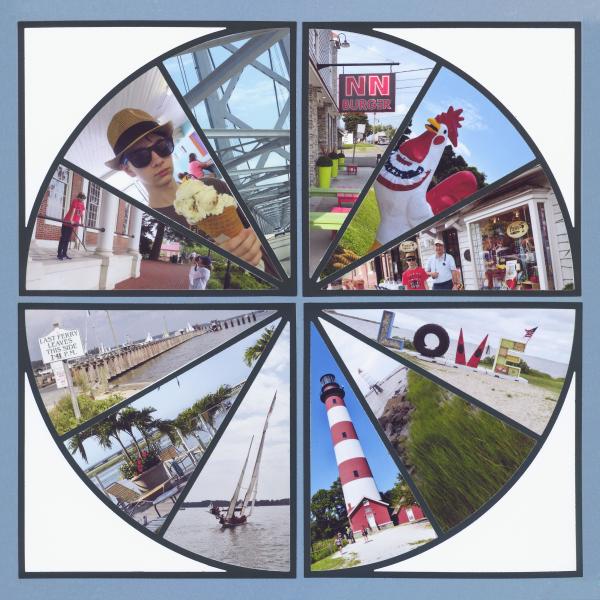
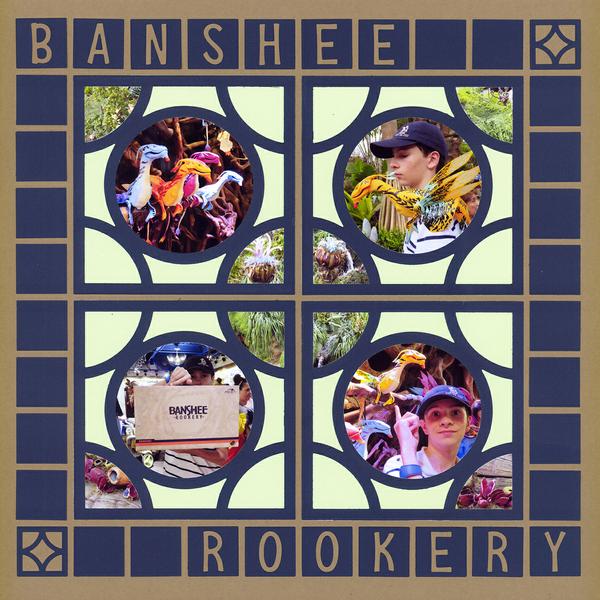
Using a grid to create pages doesn't restrict designs to a combination of squares and rectangles. With the Horizon Die collection (above) or the Quarter Pie Die (see example below) you can build a variety of designs on the grid that create large circles.
Little Circles
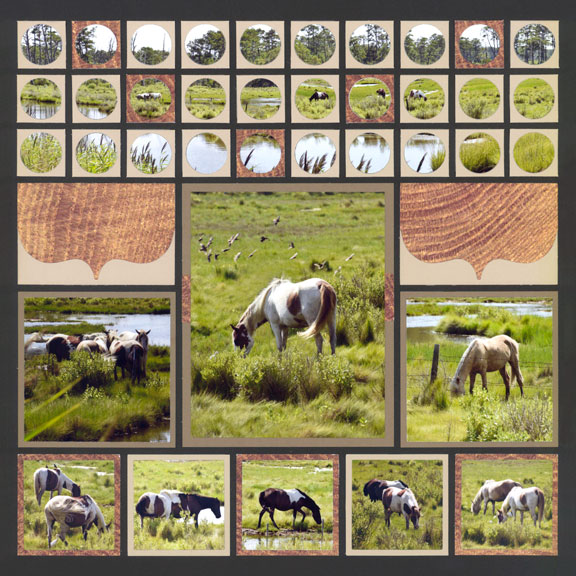
Highlight small pieces of photo using the 1x1 grid and circles die. From large to small - you can make it look amazing on a grid!
More ways to integrate circles into your pages...
Add a blast of color to your page by cutting striped paper with the Circle Time Die.