Christmas is just around the corner -- are you ready? While you are putting the finishing touches on the tree and baking cookies, ponder the pages you plan to create after the holidays. Think about the designs you plan to make and the photos you will need to take in order to complete the layouts. Make a list -- either in your head or down on paper -- of things to photograph, so you do not miss any
opportunities. Check out the samples below to get your creativity flowing -- and get some ideas for creating ornaments.
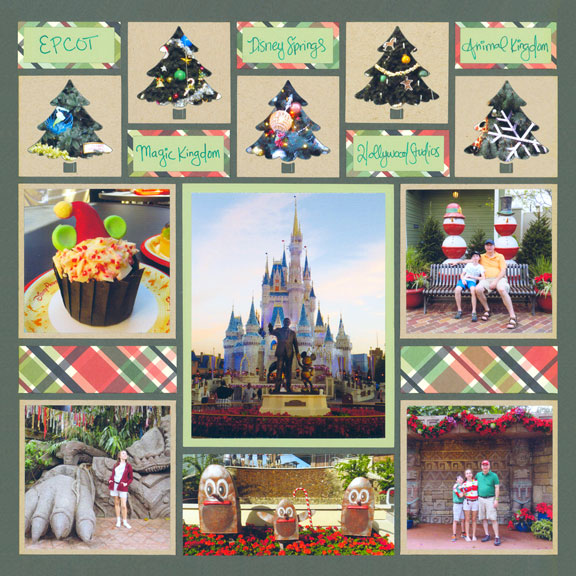
"Christmas Around the Parks" by Paije - Pattern #408
We often take pictures of our Christmas tree and the ornaments on it. What better to way to frame some of those photos then inside a tree?! Take a few distance shots of the tree and the ornaments on it, like Paije did above. Imagine how pretty that special ornament or newest addition to the tree would be framed
in the tree?
SnapFixTip: To get the perfect portion of the photo framed in the tree, place the die on top of your photo and move it around until you have the perfect "view." Use washi tape or painters tape to hold the die to the exact position on the photo. Then run it
through your machine and it will stay in place, giving you the perfect insert for the tree.
Column layouts, like this one, are great when you have vertical or square photos. The nice even column lines allow you to get eight photos on a single layout. And, still have a bit of space for some decorative dies, like the Ornament Row Die above.
SnapFixTip: To easily cut the Ornament Row Die, cut the white rectangle from the Basic Die Set. Then, use patterned paper to cut the ornaments and place them on top. The white cardstock will show through and cover the Grid Lines.
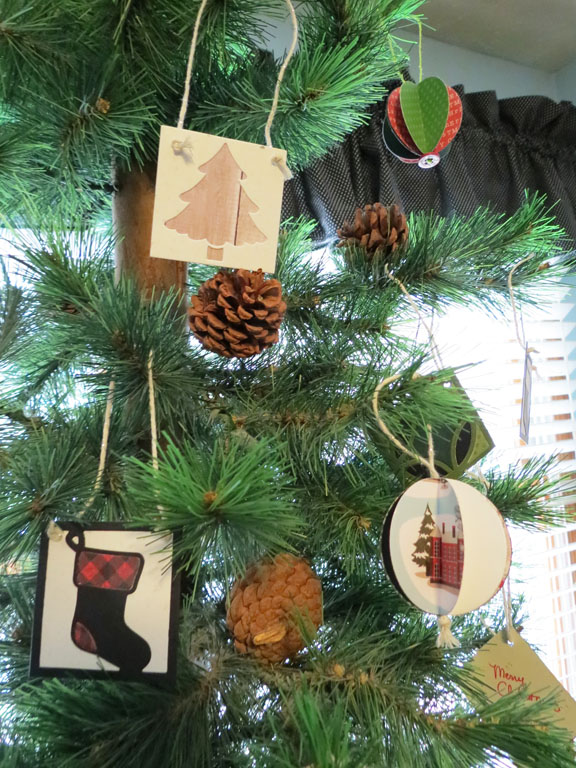
Who says Mosaic Moments Dies are only for scrapbooking? Andrea takes them off the grid paper and turns them into adorable ornaments! Check out instructions to all five of them by clicking on the red box below.