First we had little squares.
Then we had strips. Now, we have diamonds! Yes, Tami Potter, owner and designer for Mosaic Moments, who continues to keep things fresh, unique and innovative, now brings us the Diamond Mine Dies. Starting off with just a few, rumor has it there are more dies that work with this set coming. For now, take a look
at how they work.
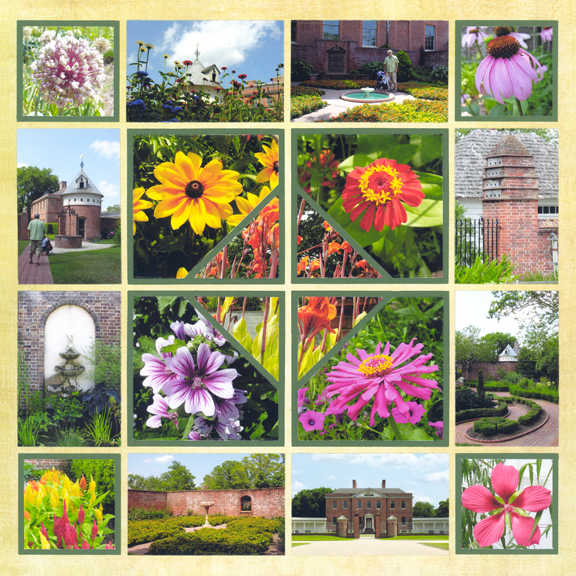
In its simplest form, the Diamond Mine Die can place a large diamond in the midst of four other photos. Here, Paije chose to cut the diamond from one flower photo and the other four photos from additional flower photos.
SnapFixTip: Every photo does not have to be matted. In the layout above, Paije added a mat to just the four corner photos, balancing the diamond border in the center.
Early Bird Reveal
Join us LIVE
Thursday @ 8 PM EDT
Sizzlin' Hot Summer Sale
Starts Thursday Night
Join us LIVE on Facebook Thursday, July 19th at 8 PM EDT. We'll show you our 30 brand NEW Page Kits, announce all the Facebook Vote winners, and you'll be the first to know about all of the exciting Early Bird Deals!
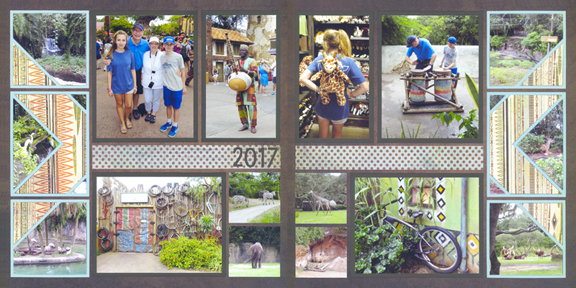
Page Pattern #404 looks good on its own. But, when you create a mirror image of the page and make
a two-page design, it looks fabulous! The Diamond Mine Dies used on the edges of the page to create a triangular design really set off the page and point your eye inward.
SnapFix Tip: Think outside of the box when using your dies. If you are a visual person, cut a die out of scrap paper. Then, you can line it up on the Grid Paper, turn it on its side, flip it over, cut it in half, or do whatever you wish until you get a unique design all your
own.
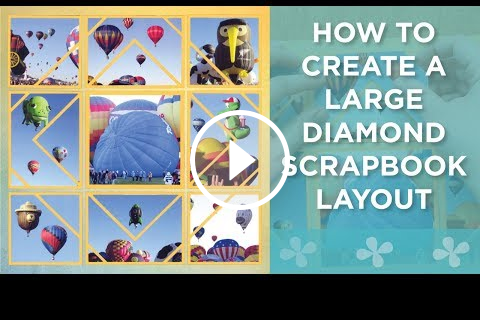
The Diamond Mine Dies do take a little more planning and time to complete than some of the other Mosaic Moments designs. But Paije guides you through the entire process in this short video from planning to finish. Click below to watch.
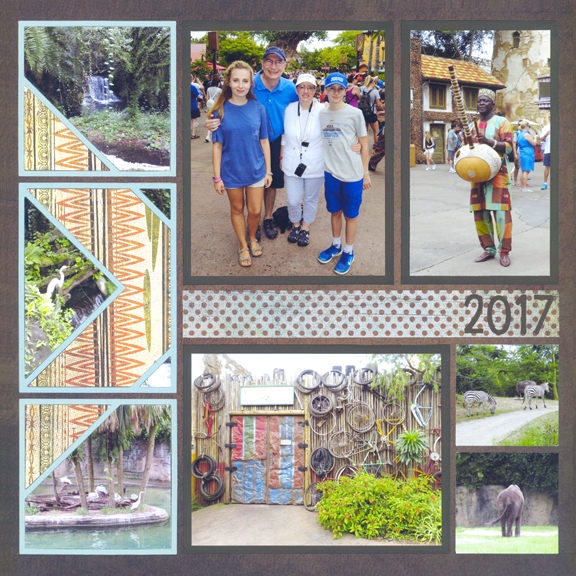
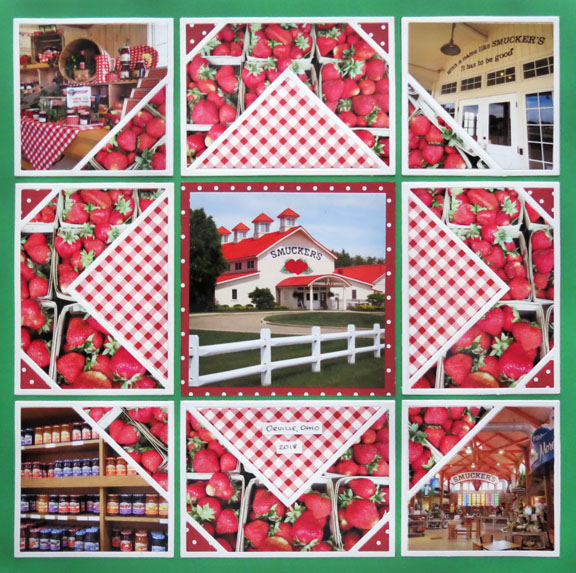
Andrea walks you through, step-by-step, to create this adorable layout showing her visit to Smuckers. Learn how easy it is to add diamonds of photos and patterned pieces to your layout.