Today we
are celebrating the Ellis Island Die. This graphical die can take the place of any 3x3 square space on the page pattern design. While it can certainly hold its own with a couple of colors of cardstock, our team is showing you how to work with pattern to take your layouts to the next
level. Scroll down to see more!
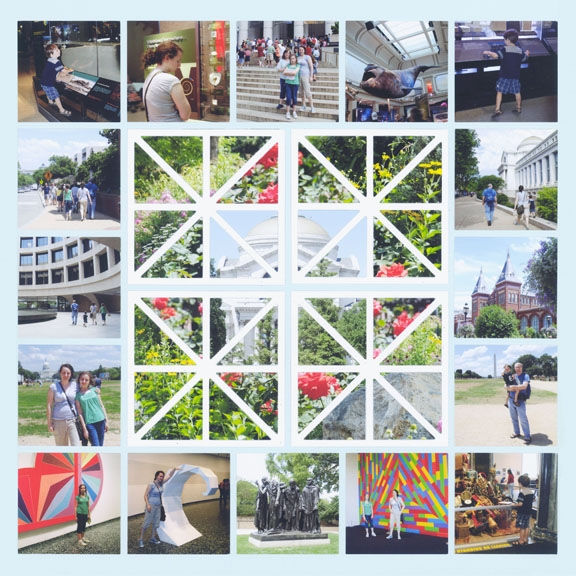
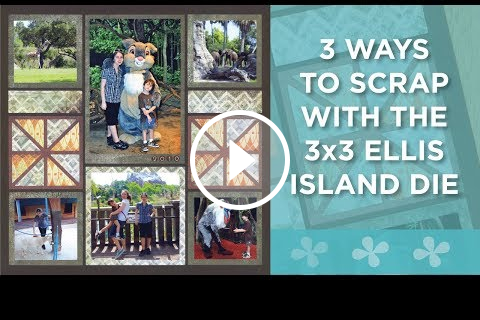
Look closely at the center of this layout and you will see Paije combined numerous photos and the Ellis Island Die to create an art piece for the center of her page. Amazing! Her video below shows you how to do it ...
SnapFixTip: Go ahead and put a lot of photos on a single layout. Mosaic Moments was designed to keep the photos pleasing to the eye even when a lot of them are placed on the page. Use your computer to print them smaller or don't zoom in so much with your camera and trim them down when they come back from the
photo lab.
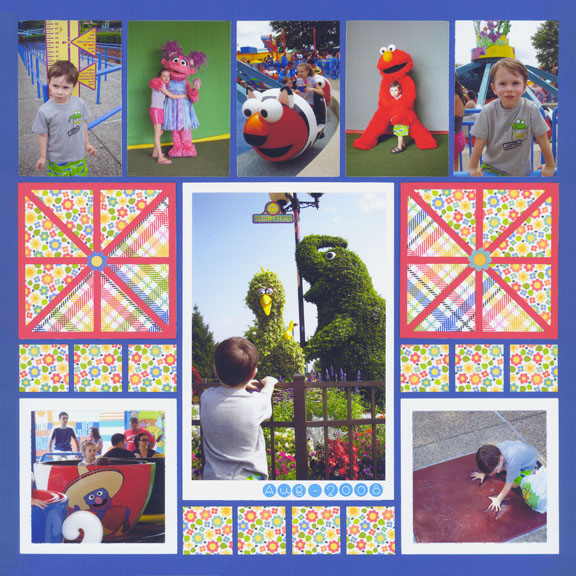
The Ellis Island Die is a great way to add a bit of patterned paper to the page. To create this look,
either cut the die three times ... once from cardstock and once from each of your patterns and then put it all back together. Or, watch Paije's video below and learn a quicker way to get the same look!
SnapFix Tip: Embellish it. It doesn't take much to take a die cut from pretty to perfect. On the layout above, Paije added a little flower in the center of the Ellis Island die cut. It's a detail many may not notice, but they will notice that the overall look of the page is perfect. Had the flower been left
off, the page would have been nice, but it wouldn't have been perfect ... so go ahead ... embellish it!
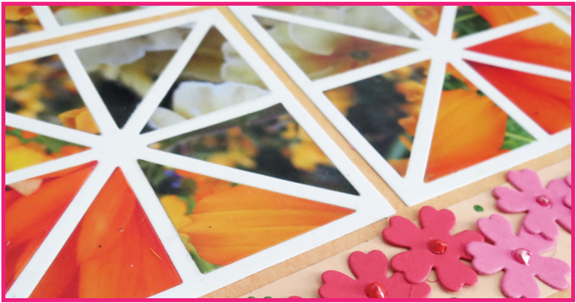
For this layout, Andrea uses beautiful flowers and the Ellis Island Die to
create colorful patterns within patterns. It's a unique technique that would be perfect for wedding photos or portraits of mom or grandma. To read all about it - click the button below.