SnapFix: the official newsletter of Mosaic Moments®
MOSAIC MOMENTS® PRESENTS:
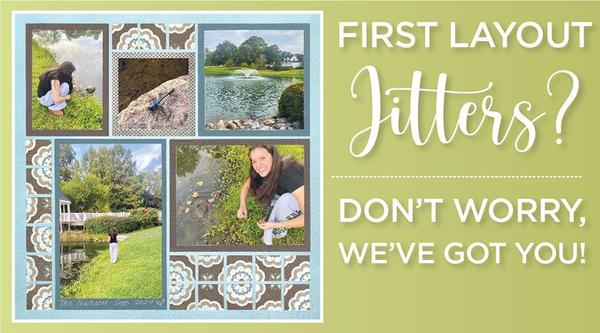
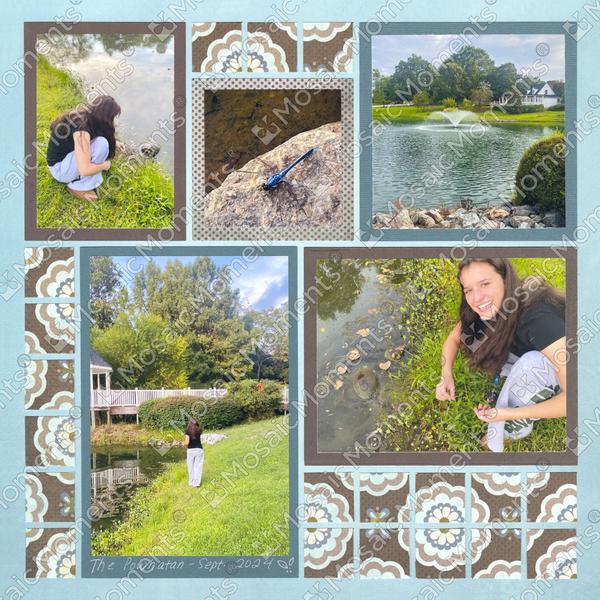
"Turtles at the Powhatan" by Jodi Benson - Pattern #132
Hello
So, you’ve got your Basic Die Bundle, your photos, and your grid paper… but now what?
If you’re feeling a little nervous about making your
first Mosaic Moments layout—you’re not alone! We’ve all been there. The good news? You can’t mess this up!
Scrapbooking with the grid system is way easier than you might think, and we’re here to guide you every step of the way. Today, we’ll walk you through a super
simple first layout that will help you get comfortable cutting, arranging, and creating with confidence.
Take a deep breath, grab your supplies, and let’s turn that pile of photos into something beautiful.
Let’s get scrapping!
Mosaic Moments Team
Let's Make This Fun Layout Together!
"Turtles at the Powhatan" by Jodi Benson - Pattern #132
If you’re new to Mosaic Moments, don’t worry—we’re here to make it easy and fun! Follow along as we show you the exact steps Jodi took to create the layout above. You’ll see just how simple (and rewarding!) it
can be.
7 steps Jodi went through to make this beautiful page.
Pick a Pattern: Jodi started by looking at the photos she wanted to use. Then, she headed over to our Pattern Gallery and found a layout that worked well for her
pictures—Pattern 132 . It’s a fun, freestyle design with a mix of vertical, horizontal, and square spots. It also has some 1x1 sections, which she knew would be perfect
for a touch of patterned paper.
Choose Your Grid Paper: Next, Jodi picked out the grid she wanted to build on. She chose 12x12 Lakeside Grid Paper from the Lazy Days Collection. The color set the tone for the rest of her layout.
Choose Mat Colors & Patterned Paper: This part goes hand-in-hand with picking your grid paper. You’ll want colors that complement your photos and add a bit of contrast to make them pop. Jodi used dark
brown mats for strong contrast and blue mats that tied in beautifully with both her grid paper and patterned paper.
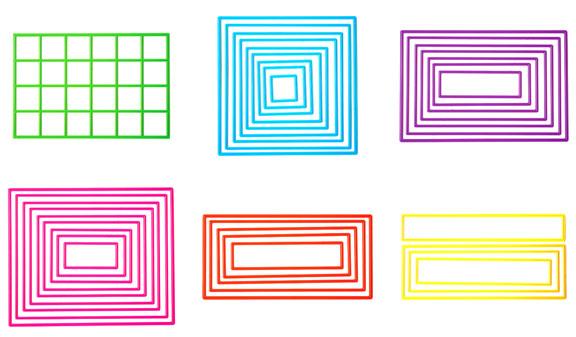
Select Your Dies: Jodi gathered the dies she needed based on the pattern she chose. If you’re just getting started, we highly recommend using the Basic Die Bundle—it has everything you need to match the grid and keep things
simple.
Print Your Photos: Jodi waited to print her photos until she had picked her layout. That way, she could print them in the exact sizes she needed—no guessing or re-printing!
Crop Your Mats & Photos: With everything planned
out, Jodi ran her paper and photos through her die machine using the dies she picked. This gave her perfectly sized pieces that fit right into her layout.
Glue Everything Down: Time to bring it all together! Jodi used repositionable adhesive, which is great because it gives you a little wiggle room to
adjust things and get them perfectly aligned on the grid.
See? Making a layout really can be this easy. You don’t have to be nervous at all. The more you use the Mosaic Moments system, the more confident you’ll feel—and soon you’ll be making stunning pages in just
minutes!
The Basic Die Bundle:
You should already have gotten your Basic Die Bundle or maybe it's on the way! Click this link to shop grid paper and additional products you might need at snapncrop.com.
Whether you just found our channel or you have been wondering how the Mosaic Moments® scrapbook…
Don't miss out!
Get alerts via
Text.
Never miss an important Mosaic Moments® sale again!
On your phone, text just the word JOIN to the number 833-264-2066, and you'll be signed up to get a text message at the beginning of each snapncrop.com sale. You can stop receiving messages anytime by texting STOP. Message and data rates may apply.