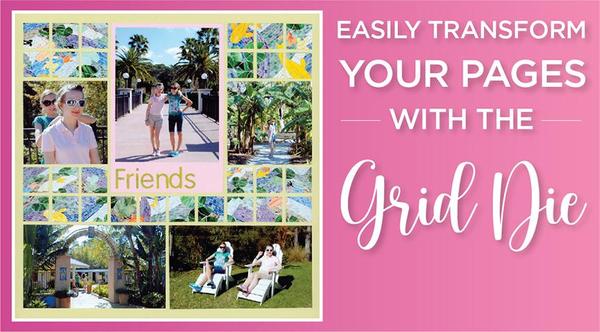
Want to take your Mosaic Moments layouts to the next level without a lot of extra effort? The Grid Die is your new best friend!
This
little tool is a game-changer because it lets you cut a full 4x6 photo or patterned paper into perfectly spaced pieces in just one pass through your die-cut machine. No measuring, no guesswork—just instant little squares that fit the grid perfectly.
Using the Grid Die
makes it so much easier to create that signature Mosaic Moments look, where everything flows together beautifully. It’s especially great if you love capturing scenic landscapes or detail photos because it helps break up the image while keeping it visually connected. If you've ever struggled with cutting your photos just right, this die does the work for you!
In today’s email, we’ll show you how the Grid Die works to create beautiful layouts, plus some fun and creative ways to use it. Get ready to transform your pages instantly!
Want to add a decorative touch to your Mosaic Moments layouts while still telling your story? The Grid Die has you covered!
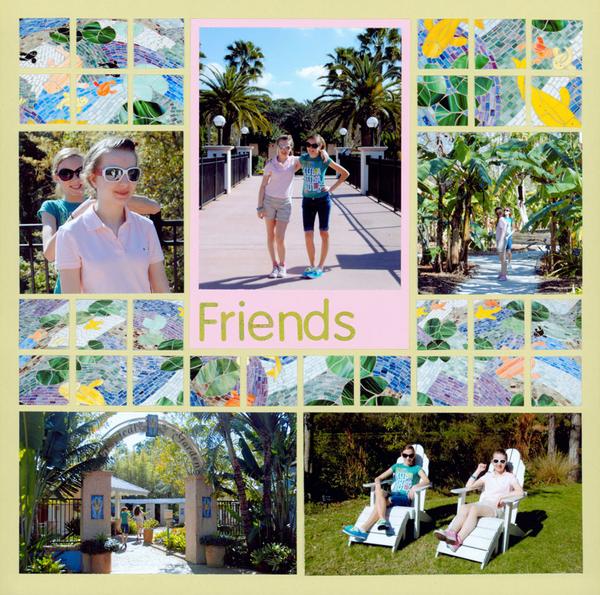
This handy tool makes it a breeze to create stunning 1x1 mosaics that act like patterned paper—but with a personal twist! Instead of using generic designs, you can fill your 12x12 Grid Paper with meaningful details from your own photos. That’s exactly what Tami did—she captured the gorgeous mosaic tile art around the gardens and used the Grid Die to
transform those photos into a beautiful mosaic on her page.
We love using photos in place of pattern paper on our layouts, and you will too. It’s an easy way to add eye-catching texture while keeping everything visually connected. Plus, using photos in place of patterned
paper makes your pages feel even more special and unique!
Once you try it, you’ll love how effortlessly the Grid Die helps you create polished, professional-looking mosaic layouts. Give it a go and watch your pages come to life!
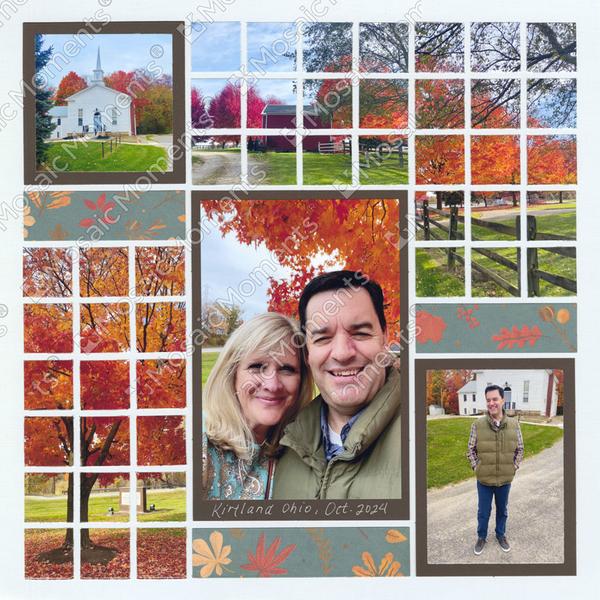
"Kirtland in the Fall" by Jodi Benson - Pattern #1095
The Grid Die is your secret weapon to create seamless, eye-catching layouts that may leave viewers guessing how many photos you used!
With this versatile tool, you can mix multiple photos together so flawlessly that they appear as one cohesive image—a technique we like to call blending. By cutting your photos into 1x1 inch squares using the Grid Die and arranging them thoughtfully on grid paper, you can achieve this magical mosaic effect.
There are a few ways to do this:
Align the horizons of your photos
Position similar colors in the photos next to each other
Put similar textures together like flowers or leaves
Align structures like fences and pathways
To get started, try mixing and matching 1x1 mosaics with larger
photos to create visual interest. This approach adds depth to your layouts.
Once you see how easy and stunning it is, you’ll be hooked on creating mosaics!
Mosaic layouts, those made by cutting photos into 1-inch squares, can make some absolutely amazing…
Watch This YouTube Video for Helpful Tips when Using the Grid Die
Tami will give you some tips for rolling the 1 inch Grid Die through your die machine and gluing the 1x1 inch squares for your layout.
This video shows the Evolution Advanced Die Machine - read your die machine instructions for best results.
Show the Details with the Grid Die
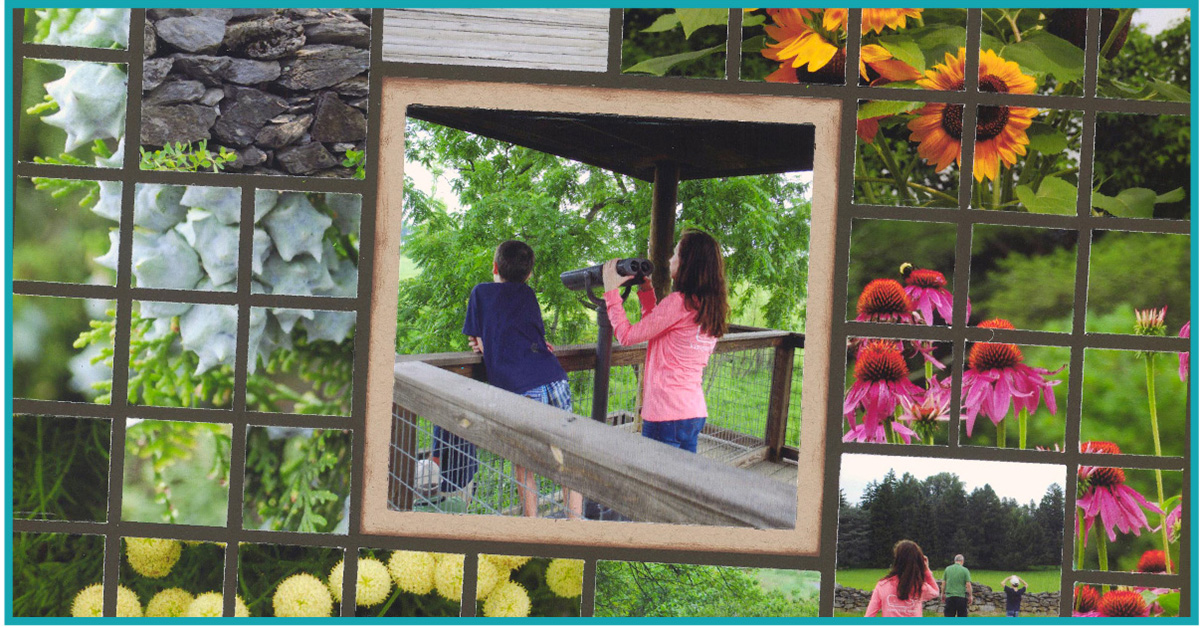
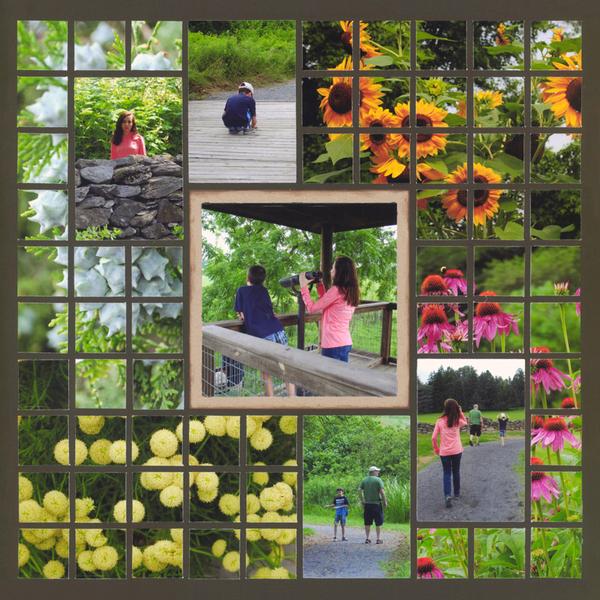
"Va Arboretum" (Side B) by Paije Potter - Pattern #215
With the Grid Die, you can highlight both the experience and the details that make it unforgettable!
Embedding a few larger photos into images cut into 1x1 inch square mosaics is a beautiful way to use mosaics. This technique lets you showcase both the people enjoying an activity and the beautiful sights and details around them. Paije did this perfectly by framing her trail photos with close-ups of the flowers she saw along the way.
Ready to dive deeper into blending photos for your Mosaic Moments layouts?
Check out our tutorial (link button below) for step-by-step guidance. Paije will show
you how she made this layout (which is one page of a two-page spread) step-by-step.